Laser labels are a convenient and professional way to create customized labels for various purposes, such as addressing envelopes, organizing files, or labeling products. If you have a laser printer and want to learn how to print laser labels accurately, this blog post will guide you through the process step by step.
Step 1: Choose the Right Labels: Select laser labels that are specifically designed for laser printers. These labels have a special coating that allows toner to adhere effectively and produce high-quality prints. Ensure that the labels you choose are compatible with your printer model and meet your desired label size and layout.
Step 2: Prepare Label Templates: Most label manufacturers provide templates that can be downloaded from their websites. These templates are pre-formatted with the correct label dimensions and spacing, making it easier to design and print labels. Download and open the appropriate template in your preferred design software, such as Microsoft Word or Adobe Illustrator.
Step 3: Design Your Labels: Customize the label template according to your requirements. You can add text, images, logos, or barcodes to create personalized labels. Adjust the font style, size, and formatting to suit your preferences. Ensure that the content fits within the label boundaries and is aligned correctly.
Step 4: Test Print: Before printing a large batch of labels, it is crucial to do a test print. Load a sheet of plain paper into the printer and print a sample page using the label template. Verify that the content is correctly aligned within the label boundaries and check for any formatting or design errors. Make adjustments as necessary.
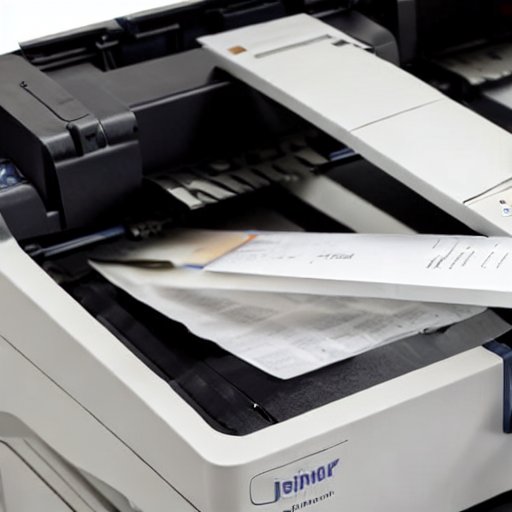
Step 5: Load the Label Sheets: Once you are satisfied with the test print, load the label sheets into the printer’s paper tray. Adjust the paper guides to securely hold the label sheets in place. It is important to follow the manufacturer’s instructions on loading label sheets, as improper placement can cause paper jams or misalignment.
Step 6: Configure Printer Settings: Access the printer settings on your computer and select the appropriate paper type, such as “Labels” or “Heavy Paper.” This setting ensures that the printer applies the correct amount of heat and pressure to adhere the toner to the labels properly. Additionally, check the print quality settings and adjust them as needed.
Step 7: Print the Labels: Click the “Print” button in your design software to start printing the labels. Ensure that you have enough label sheets in the paper tray to complete the printing job. Allow the printer to complete the printing process without interruption. Avoid touching the printed labels immediately after printing to prevent smudging.
Step 8: Let Labels Dry and Trim if Necessary: Once the labels are printed, let them dry for a few minutes to ensure that the toner has fully adhered. If required, use scissors or a paper cutter to trim the labels along the provided cutting lines for a clean and professional appearance.
Conclusion: Printing laser labels is a straightforward process that requires selecting the right labels, designing the labels using templates, conducting a test print, loading the label sheets correctly, configuring printer settings, and finally, printing the labels. By following these steps, you can produce professional-looking labels for various purposes using your laser printer. Remember to follow the manufacturer’s instructions and guidelines for both the labels and the printer to ensure optimal results.